
AI Image Generators for Beginners: Where to Start
By Mag-Info Tech editorial · 2026-06-10
What an AI image generator is and why beginners need one
An AI image generator is a tool that turns a text description into a picture. You write a prompt such as “a cozy café interior with warm lighting and potted plants,” and the model produces a matching image in seconds. These tools are useful for blog headers, social media posts, slide decks, prototypes, and even hobby art. For newcomers, the main appeal is speed: you can create visuals without learning design software or hiring an illustrator. The barrier to entry is low, but the landscape is crowded with options that differ in cost, quality, style, and ease of use. If you are just starting, look for a platform that balances simplicity with reliable results and offers clear guidance on how to write effective prompts.
The first step is to decide what you will use the images for. Social media posts need different aspect ratios and styles than print flyers or website headers. Some tools specialize in photorealism, while others excel at cartoon or anime styles. Beginners should also consider whether they want a completely free tier, a paid subscription, or a one-off credit system. Costs can add up if you generate dozens of images each month, so it pays to understand the pricing model before you commit. Finally, check whether the tool runs in a browser, on mobile, or inside a design app you already use, because switching between tools slows you down.
Core features every beginner should evaluate
Start by testing the prompt interface. A good beginner tool shows prompt examples, suggests related terms, and highlights common mistakes such as overly long sentences or conflicting adjectives. Next, look at the output quality and speed. Some models produce crisp images in under ten seconds, while others can take a minute or more, especially when the queue is busy. Export options matter too: you should be able to download the image in standard formats like PNG or JPG at a resolution suitable for your project. Many platforms let you choose aspect ratios—square, portrait, or landscape—so you can tailor images to Instagram, Twitter, or a blog without extra cropping.
Another practical feature is the ability to edit after generation. Some tools let you add, remove, or resize elements with simple text commands, which is helpful when the first result is almost right but missing a key detail. Others integrate directly with design software or content management systems, so you can drop generated images straight into a layout or post. Check whether the platform includes watermarks on free tiers, because some only remove them after you pay. Finally, look for built-in safety filters that block harmful or copyrighted content; these protect you from accidental violations and keep the service available to everyone.
Free-to-start options for absolute beginners
If you want to try without spending money, start with a platform that offers a generous free tier. One example is a browser-based service that lets you generate a handful of images per day without an account, then ups you to a free account that triples the daily allowance. The interface is minimal: a text box, a few style presets, and a generate button. Prompts are forgiving—even vague descriptions like “sunset over mountains” return usable results. The catch is that high-resolution downloads and advanced styles require a paid plan, but for basic social media or blog images, the free output is often enough.

Another popular free option is integrated into a well-known creative suite. You can open the tool from within a document editor or design app, describe the image you need, and insert the result directly into your file. This eliminates the need to switch windows or resize images manually. The free tier includes a small number of generations per month and standard styles, but the integration makes it ideal for users who already work in that ecosystem. Both of these free platforms are good places to learn prompt-writing without financial risk.
Mid-tier paid plans for consistent creators
Once you outgrow free limits, a mid-tier paid plan gives you more generations per month, higher resolution, and additional styles. These plans typically cost a flat monthly fee and include commercial use rights, which is important if you plan to use the images in client work or monetized content. The interface remains simple, but you gain access to advanced controls like seed selection, which lets you regenerate similar images, and style presets for product shots, portraits, or landscapes. Some platforms also offer priority generation, so your images finish faster during peak times.
For creators who need more than a hundred images each month, another option is a credit-based system. You buy a bundle of credits up front and spend them as you generate images. This model is flexible—you only pay for what you use—and often includes discounts for larger bundles. The interface is usually the same as the free version, so you do not need to relearn the tool when you upgrade. Credit systems are popular with freelancers and small agencies because they align costs directly with output.
Advanced tools for designers and developers
If you are comfortable with code or design workflows, an advanced generator integrates into your existing tools. One approach is a command-line tool or a Python library that you run locally or in the cloud. You write the prompt in code, adjust parameters like guidance scale or step count, and receive the image directly into your project folder. This is ideal for automation, batch generation, or integrating AI images into scripts or data pipelines. The downside is the steeper learning curve: you need to understand basic programming and model settings to get good results.
Another advanced option is a plugin for popular design software. Once installed, you can generate images from inside the application, apply styles that match your document, and export without leaving the workspace. These plugins often include style libraries tailored to print design, so you can match the look of a brand guide or annual report. For teams, some services offer an API that you can call from your own website or app, giving you full control over generation and delivery. These tools are best for professionals who already rely on design software and need tight integration.
How to write prompts that actually work
A prompt is a short sentence or phrase that describes the image you want. Beginners often write long paragraphs with too many details, which can confuse the model and produce muddy results. Start with the main subject, add one or two key attributes, and finish with the style or mood. For example, “a black cat sitting on a windowsill at sunset, cinematic lighting, soft blur background” is clearer than a five-sentence description. If the first result is off, tweak one element at a time—change the angle, lighting, or style—rather than rewriting everything.
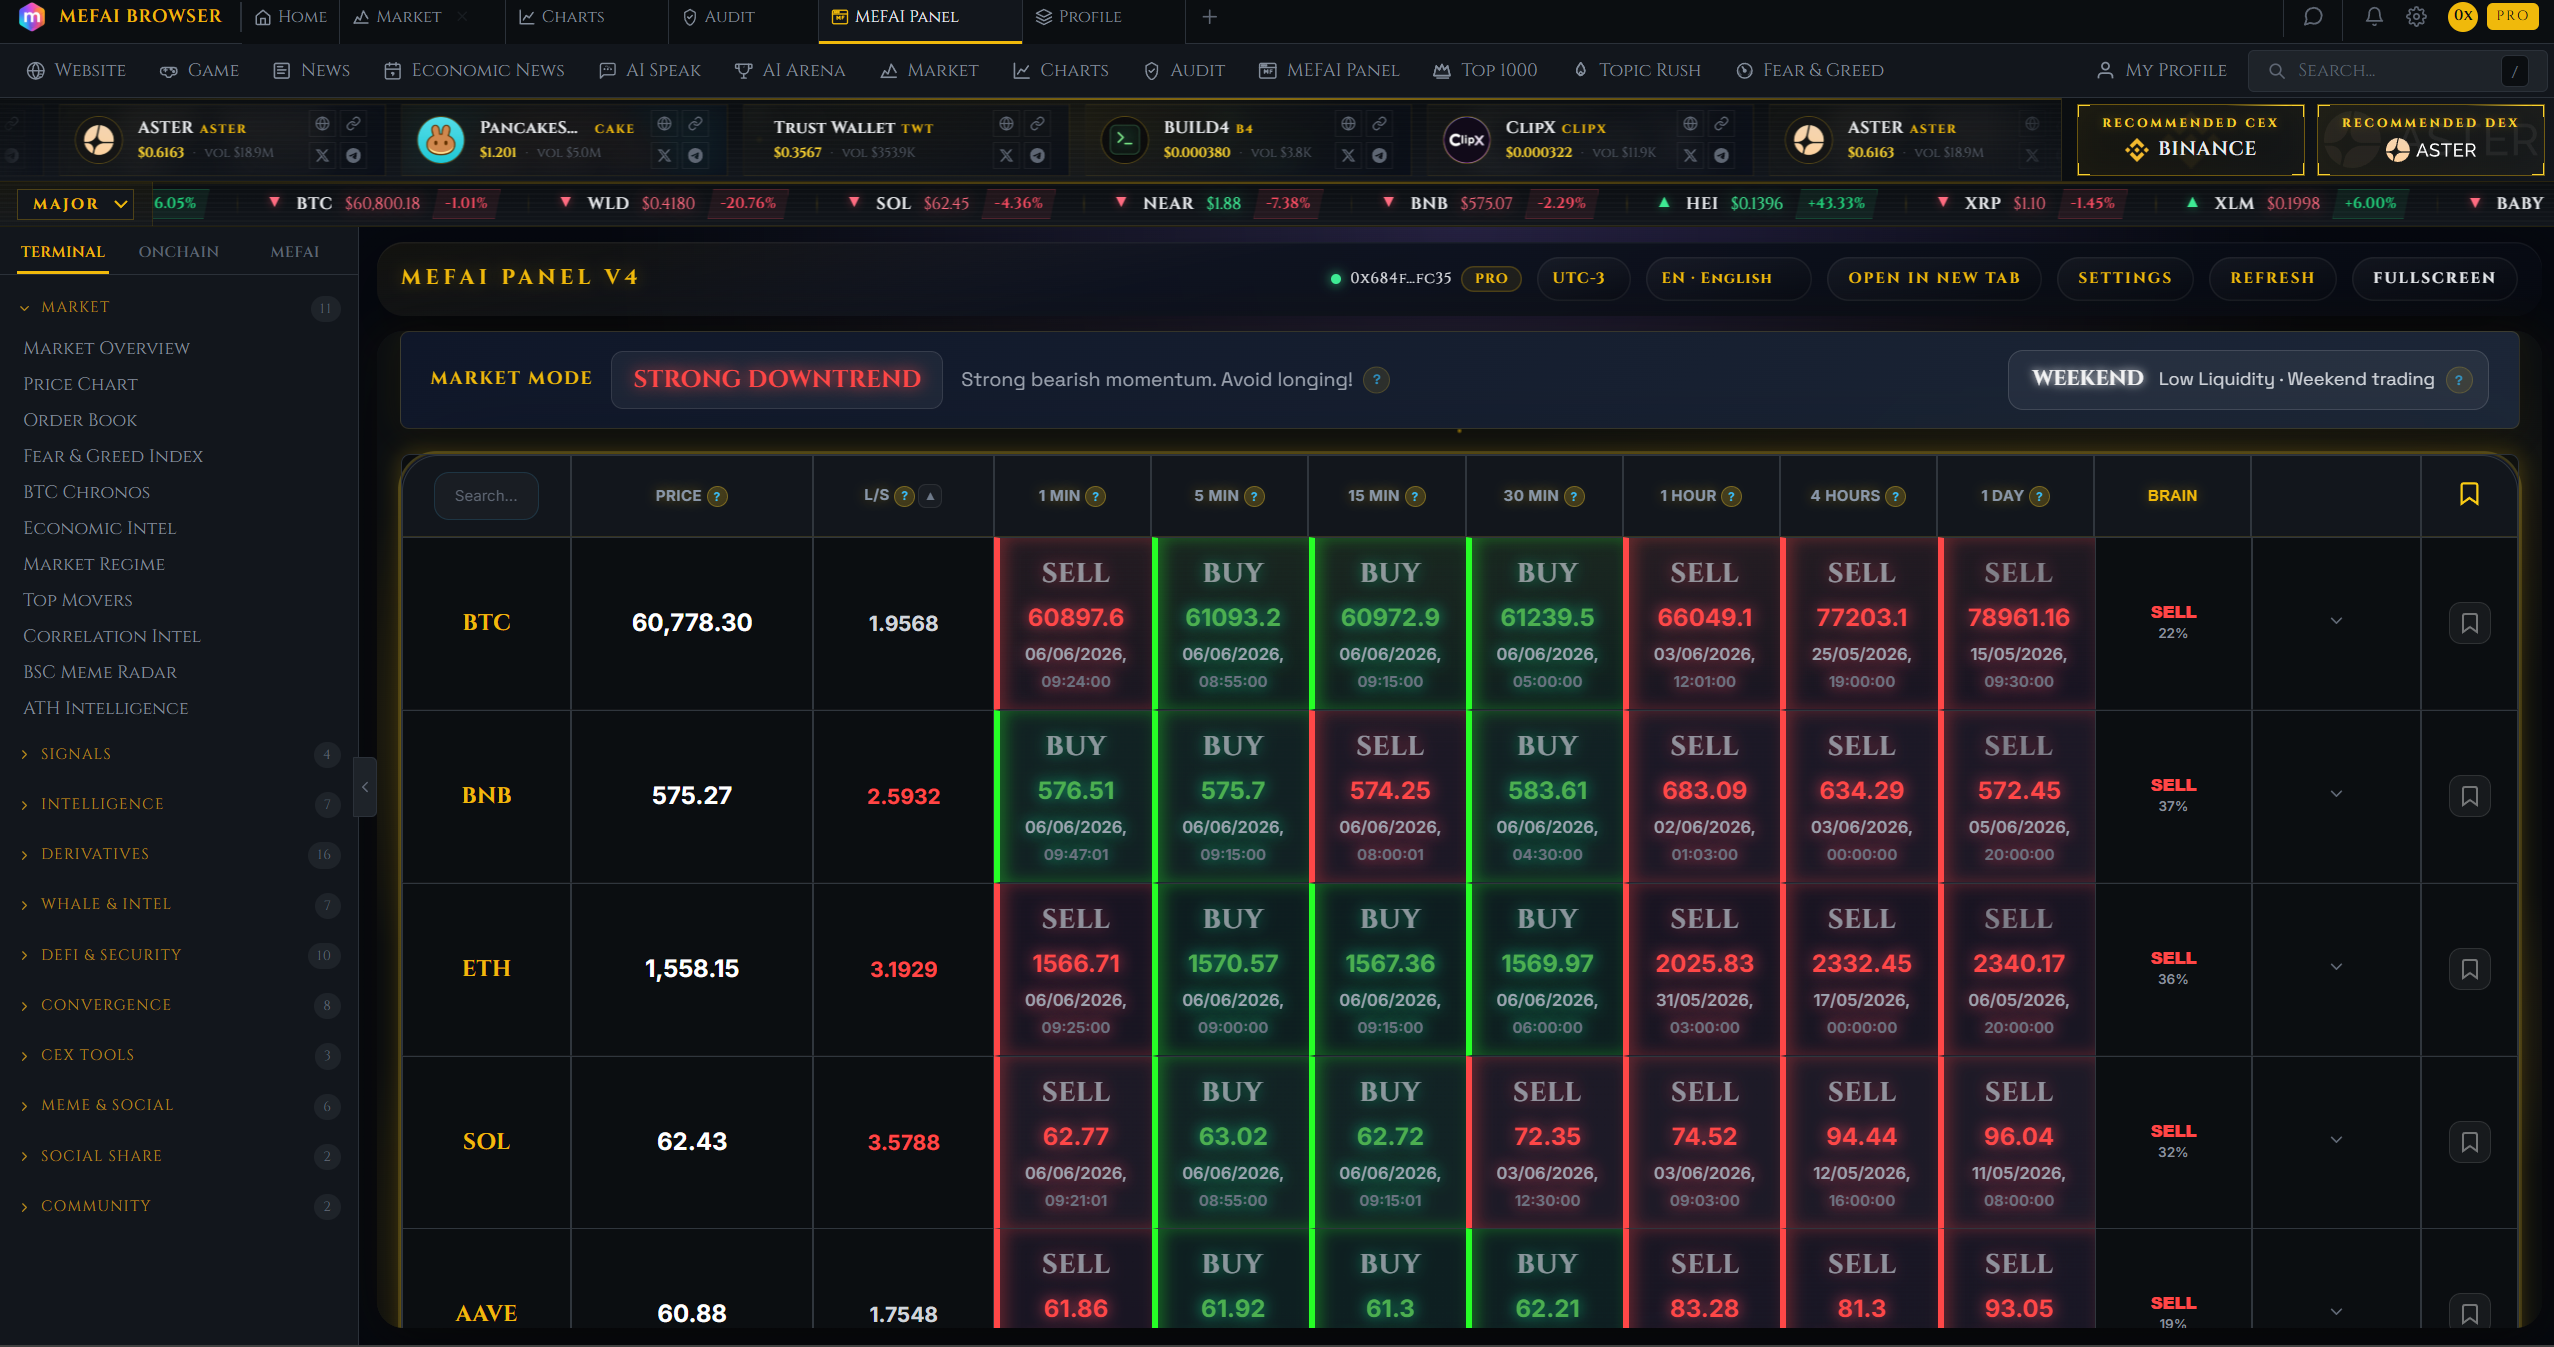
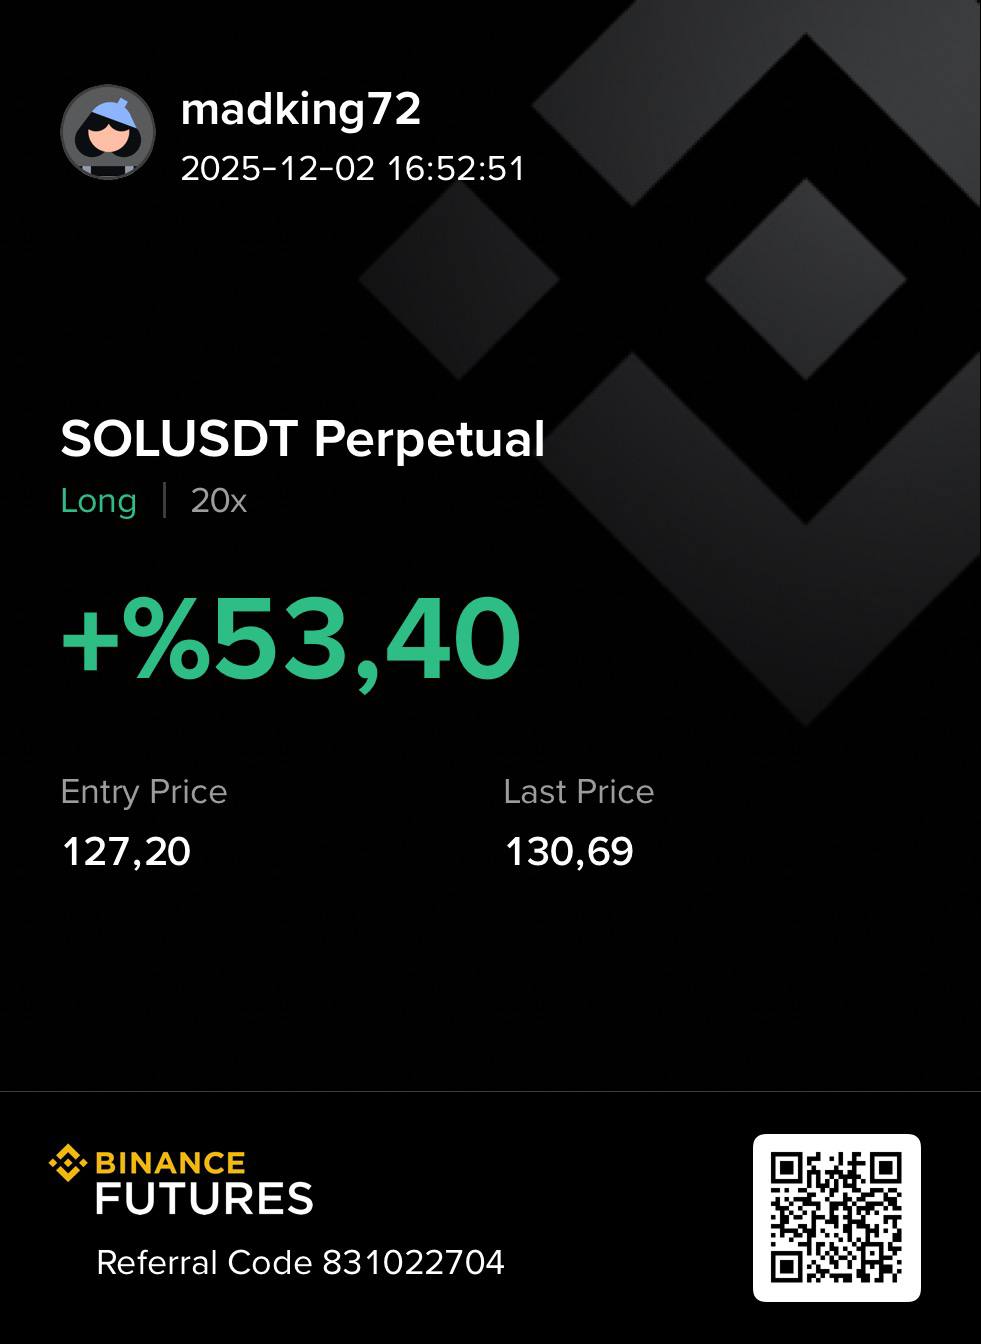

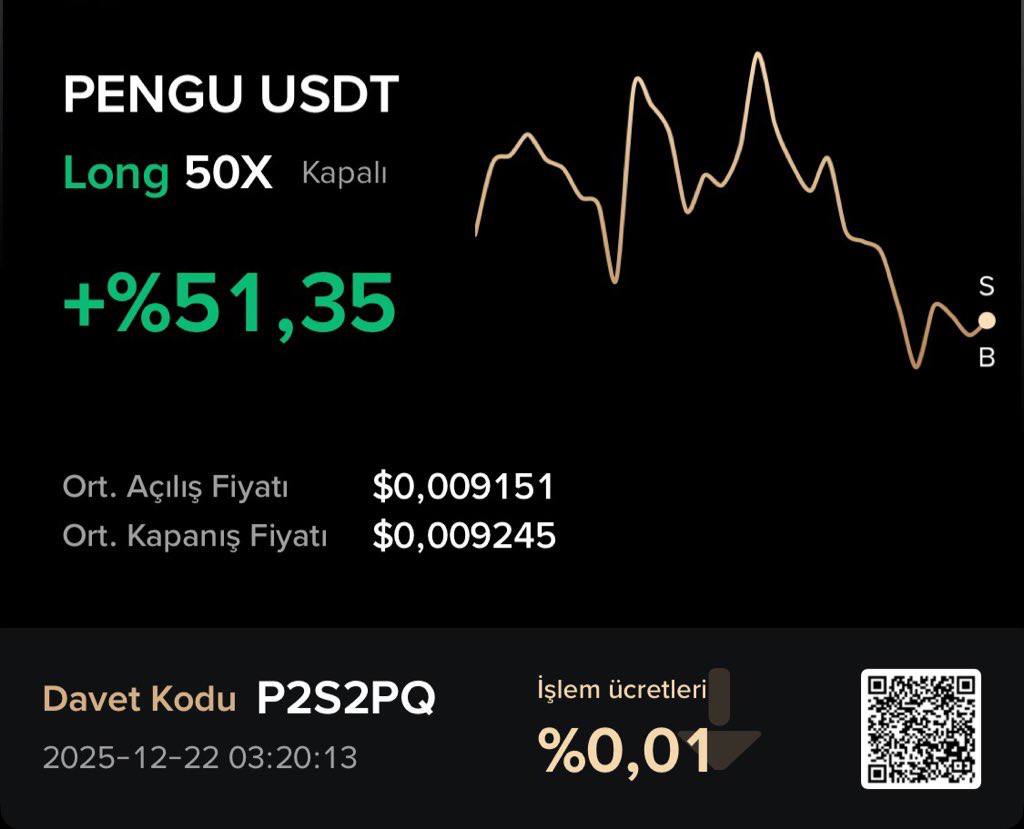
Real results from MEFAI's AI. Get $50 off the Pro plan.
Sponsored · Past performance is not indicative of future results. Not financial advice.
Style keywords are powerful. Adding “photorealistic,” “watercolor,” “cyberpunk,” or “minimalist flat design” steers the model toward a specific aesthetic. Aspect ratio modifiers like “portrait orientation” or “panoramic” help match your destination platform. Negative prompts let you exclude unwanted elements; for example, “no text, no people” prevents the model from adding watermarks or faces. Spend the first few sessions experimenting with these keywords and reviewing the results to build an intuition for what works.
Practical workflow tips for first-time users
Set aside an hour to run through the basic workflow end to end. Create a free account, generate a few images, download them, and try to use them in a real project such as a social post or slide. Note how long each step takes and whether the interface feels intuitive. If you get stuck, look for the platform’s help section or community forum; many services have prompt galleries where users share working examples you can copy and adapt.
Keep a prompt notebook—digital or paper—where you record prompts that produced good results and the settings you used. Over time you will build a library of reusable templates for common scenarios like blog headers, product mockups, or profile pictures. Also test the export flow: some platforms compress images heavily, while others let you choose quality settings. If you need print-ready files, verify that the downloaded image meets your resolution and color space requirements before you finalize a design.
Red flags and common beginner mistakes
The most frequent mistake is expecting perfection on the first try. AI images often need small fixes—cropping, color adjustments, or retouching—so plan to spend a few minutes editing after generation. Another red flag is ignoring the terms of service; some free platforms restrict commercial use or require attribution, which can cause problems later. Always check whether the images are truly yours to use for your intended purpose.
Overly complex prompts are another pitfall. Long, run-on sentences with too many adjectives can confuse the model and produce muddled images. Start simple, iterate, and use the platform’s built-in examples as guides. Finally, watch out for hidden costs: a free tier that seems generous can become expensive once you factor in high-resolution downloads or commercial licenses. Read the pricing page carefully and set a monthly budget before you scale up.
What to watch next as you grow
Once you are comfortable with a beginner tool, you can explore more advanced features such as inpainting, outpainting, or style transfer. These let you edit parts of an image or apply the look of one image to another, which is useful for refining logos, backgrounds, or product shots. Another step is to try different models; some specialize in photorealism, while others focus on anime or concept art, so switching models can dramatically improve your results for niche projects.
If you enjoy automation, look into APIs or scripting that let you generate images in bulk or integrate AI directly into your website or app. For teams, some platforms offer collaboration features, shared style libraries, and usage analytics so you can track spending and quality across projects. Staying within one ecosystem can save time, but periodically compare platforms to ensure you are still getting the best balance of cost, quality, and features for your needs.
Quick comparison table
Below is a concise comparison of the main categories covered in this guide. Remember that prices and limits change frequently, so treat this as a starting point rather than a final quote.
| Category | Best for | Free allowance | Style control | Integration | Commercial use | |---|---|---|---|---|---| | Free browser tool | Absolute beginners | A few images per day | Basic presets | Browser only | Limited on free tier | | Free creative suite add-on | Users already in a document editor | Small monthly allowance | Standard presets | Built into editor | Yes with paid plan | | Mid-tier subscription | Consistent creators | Dozens per month | Advanced presets, seeds | Browser or mobile | Yes | | Credit-based system | Freelancers and small agencies | Pay as you go | Same as free tier | Browser or API | Yes | | Command-line or Python library | Developers and automation | Varies by setup | Full parameter control | Local or cloud | Yes | | Design software plugin | Professional designers | Small monthly allowance | Brand-aligned styles | Inside design app | Yes |
Bottom line: pick one and start generating
For most beginners, the best starting point is a free browser tool or a free add-on inside a creative suite you already use. These options let you learn the basics without spending money or switching contexts. Pick the platform that feels the most intuitive, run through a real project from prompt to publish, and take notes on what works and what does not. Once you hit the free limits or need higher quality, upgrade to a paid plan or credit bundle that matches your output volume.
Avoid the temptation to try every new tool at once; focus on mastering one workflow first. As you grow, you can branch out to advanced features, different styles, or code-based generation. The key is to treat AI image generation as a skill—prompt writing improves with practice, and the tools evolve quickly, so staying hands-on will keep you ahead. Start simple, iterate often, and in a few sessions you will have a repeatable process for turning text into images that fit your projects.
More in Artificial Intelligence

AI-Powered Crypto Exploits: What the Release of Claude Mythos Fable 5 Means for Blockchain Security
Anthropic’s new Fable 5 model lowers the barrier to finding smart-contract vulnerabilities, raising risks for DeFi and crypto users. Here’s what changed and what you can do.

AI Writing Tools for Beginners: Your Essential Guide to Getting Started
Discover how AI writing tools can supercharge your content creation. This guide explains the basics, compares top beginner-friendly options like Jasper and Copy.ai, and offers clear criteria to choose
Free vs Paid AI Writing Tools: What's Actually Worth Your Money
Deciding between free and paid AI writing tools depends on your volume, quality needs, and workflow. Free tiers handle basic tasks well, but paid plans unlock longer content, advanced features, and br